-

3D打印机

-

材料
-

软件中心
-

行业应用
-

服务支持
3D打印机![]()
材料![]()
软件中心![]()
行业应用![]()
服务支持![]()
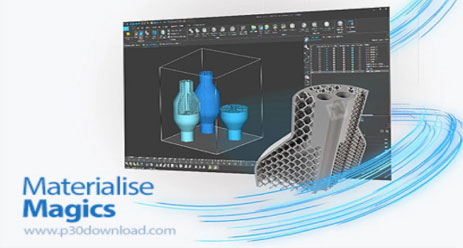
Materialise Magics 是珠宝铸造(特别是3D打印失蜡铸造)流程中数据准备和模型修复的核心软件。它能将CAD软件导出的STL模型(通常存在破面、法向错误等)修复为“水密”的实体模型,确保3D打印机能够正确识别并打印。 结合你之前提到的“光固化”和“珠宝铸造”背景,以下是使用 Magics 检查和修复模型的具体操作流程:
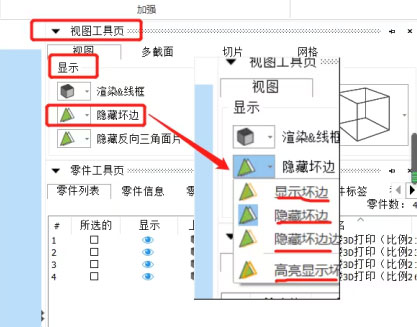
一、核心检查与修复流程(修复向导)
Magics 最强大的功能是修复向导(Fix Wizard),它能自动诊断并修复绝大多数模型错误。
1. 导入模型:将STL文件拖入软件。
2. 启动修复向导:点击工具栏中的红十字图标(Fix Wizard)。
3. 诊断(Diagnosis):
4. 自动修复(Automatic Fixing)
二、珠宝铸造专项检查
除了修复几何错误,珠宝铸造对模型有特殊要求,需在 Magics 中进行专项检查:
1. 壁厚分析(Wall Thickness Analysis)
2. 多壳体检查(Multiple Shells)
3. 干扰壳体删除(Noise Shells)
三、手动修复工具(针对复杂错误)
如果自动修复无法解决某些复杂问题(如大面积的非平面孔洞),可以使用手动工具:
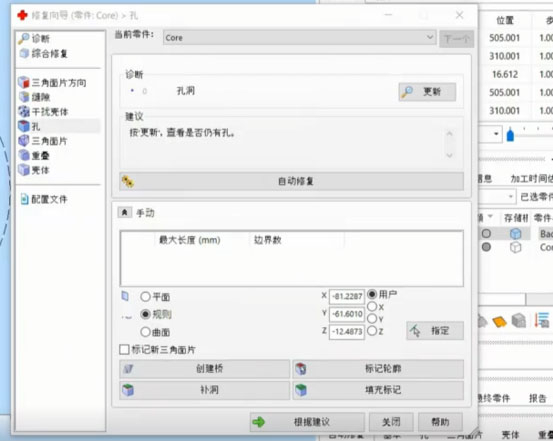
补洞模式(Fill Holes):手动点击孔洞边缘进行填充。
缝合(Stitching):针对无法自动闭合的缝隙,手动选择边界点进行缝合。
布尔运算(Boolean):用于合并多个零件或切割模型,是珠宝建模中常用的功能。
四、导出前检查
修复完成后,务必进行最终检查:
总结:对于珠宝铸造,Magics 的核心价值在于确保模型是“实体”。一个完美的STL模型应该像密封的鸡蛋壳一样,没有任何破洞,这样才能在铸造时形成完整的金属件。
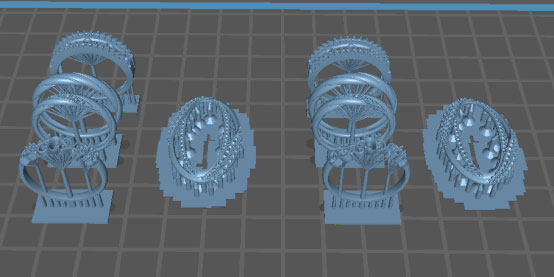
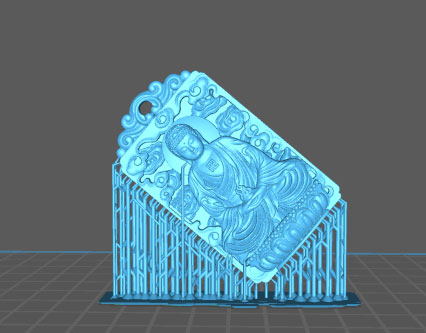
珠宝类模型(特别是戒指、吊坠等)在光固化3D打印中,模型摆放和支撑添加是决定打印成功率和后期执模(打磨)难度的关键。由于珠宝模型通常体积小、细节多且精度要求极高,其支撑策略与普通模型有显著差异。以下是针对珠宝类模型的核心注意事项:
一、模型摆放原则(减少支撑疤痕)
珠宝模型通常需要倒置或倾斜摆放,目的是将支撑点设置在非外观面(如戒指内圈、吊坠背面),避免在正面留下难处理的疤痕。
1. 戒指类模型:
2. 吊坠/复杂模型:
二、支撑添加策略(精细与稳固)
珠宝模型支撑的核心矛盾是:既要足够细(减少疤痕),又要足够强(防止模型脱落)。
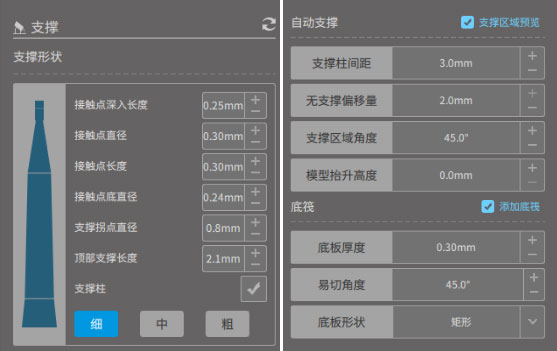
1. 支撑类型选择:
2. 支撑参数设置(关键):
3. 手动加密与避让:
三、后处理与支撑去除
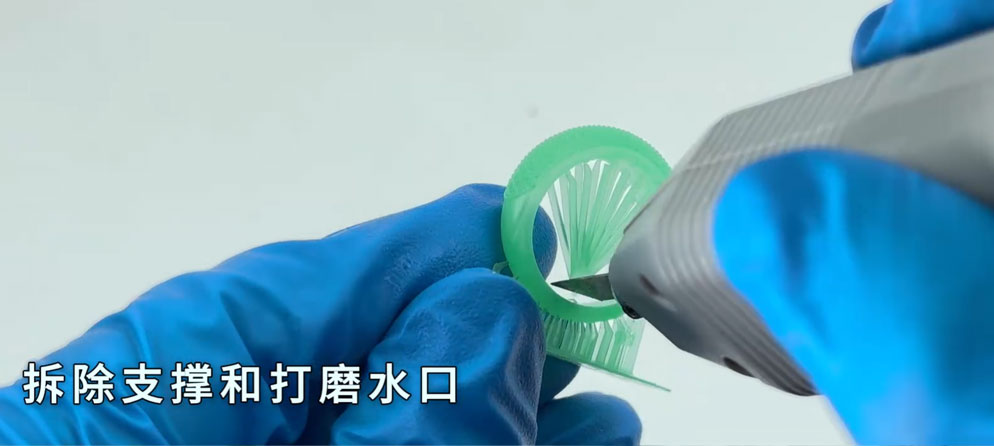
1.拆除时机:模型从打印机取出后,趁树脂还柔软时立即拆除支撑。如果模型已经冷却固化,支撑会变得很脆且粘连更紧,强行拆除容易导致模型断裂。
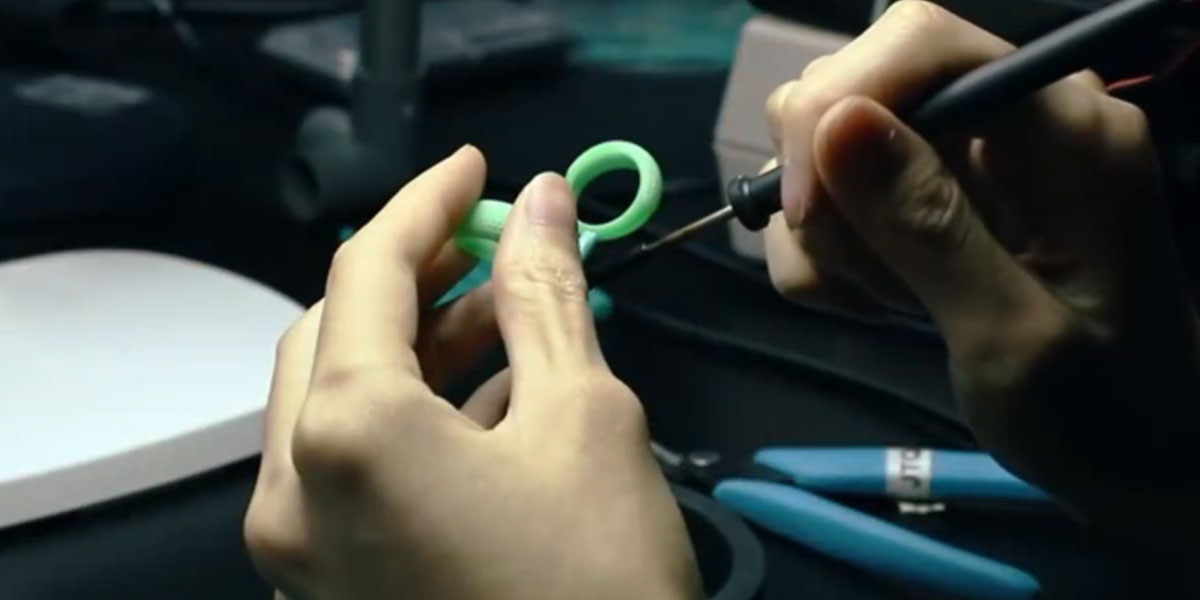
2.去除工具:使用水口钳或尖嘴钳,从支撑根部剪断,避免拉扯模型表面。对于残留的微小支撑点,使用手术刀片轻轻刮除,或用800目以上砂纸打磨。
3.清洗:拆除支撑后,必须进行超声波清洗(使用异丙醇IPA),以去除支撑接触点残留的未固化树脂和支撑碎屑,确保表面光滑。
总结:珠宝模型支撑的核心是“细、密、准”——支撑点要细(减少疤痕),布局要密(防止脱落),位置要准(避开关键细节)。
材料的选择以及打印参数设置
在珠宝3D打印领域,“玲珑精铸树脂”和“高蜡厚铸树脂”是两种针对不同结构类型(精细镂空vs厚重实体)的专用材料。它们虽然都用于失蜡铸造,但在物理特性和打印策略上存在显著差异。
1、核心区别:物理特性与适用场景
2、玲珑精铸树脂:专为“精细”而生
花丝树脂主要解决“断丝”和“变形”问题。
3、高蜡厚铸树脂:专为“厚重”而生
高蜡厚铸树脂主要解决“膨胀炸模”和“残留灰分”问题。
4、如何选择?
做戒指、吊坠、细链条:首选玲珑精铸树脂,保证细节完整。
做手镯、实心摆件、大克重首饰:首选高蜡厚铸树脂,防止炸模。
混合结构(如厚戒圈+细镶口):建议使用玲珑精铸树脂,牺牲一点脱模性能,保全精细结构。
总结:是“防断”的,高蜡厚铸树脂是“防炸”的。根据你的模型结构选择,才能实现高成功率铸造。
打印参数设置
玲珑精铸树脂
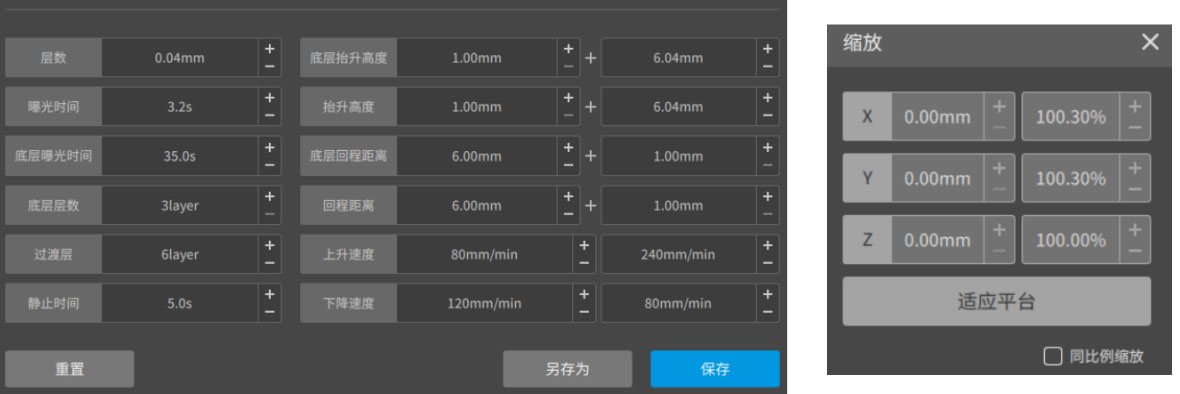
NovaMaker参数设置图
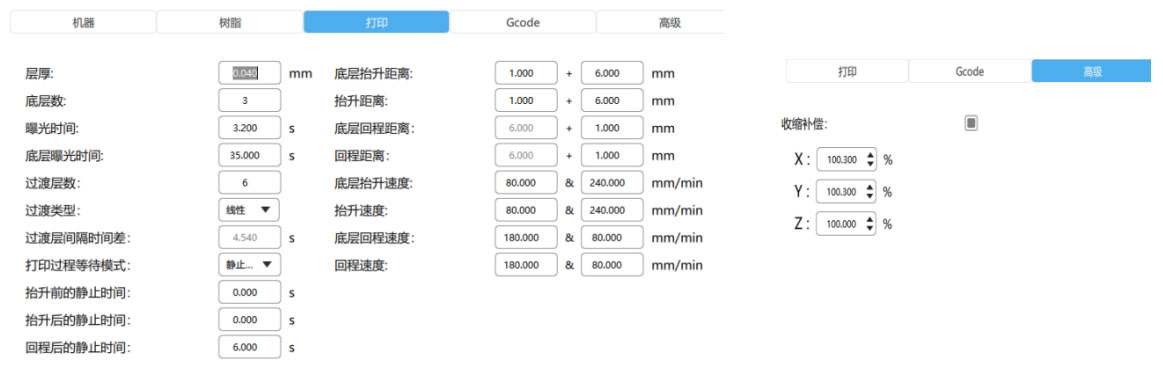
chitubox参数设置图
高蜡厚铸树脂
NovaMaker参数设置图
chitubox参数设置图
1. 平台调平
我们的设备出厂前已经进行过校准和打印测试,开箱后可无需校准。如果长时间未打印或者更换屏幕配件以及平台配件后需要重校准,正常使用的情况下定期校准一下,如果平台出现大幅度翘曲就必须重新进行调平。这是防止模型粘底或打印错位的基础。
2. 离型膜(FEP膜)检查
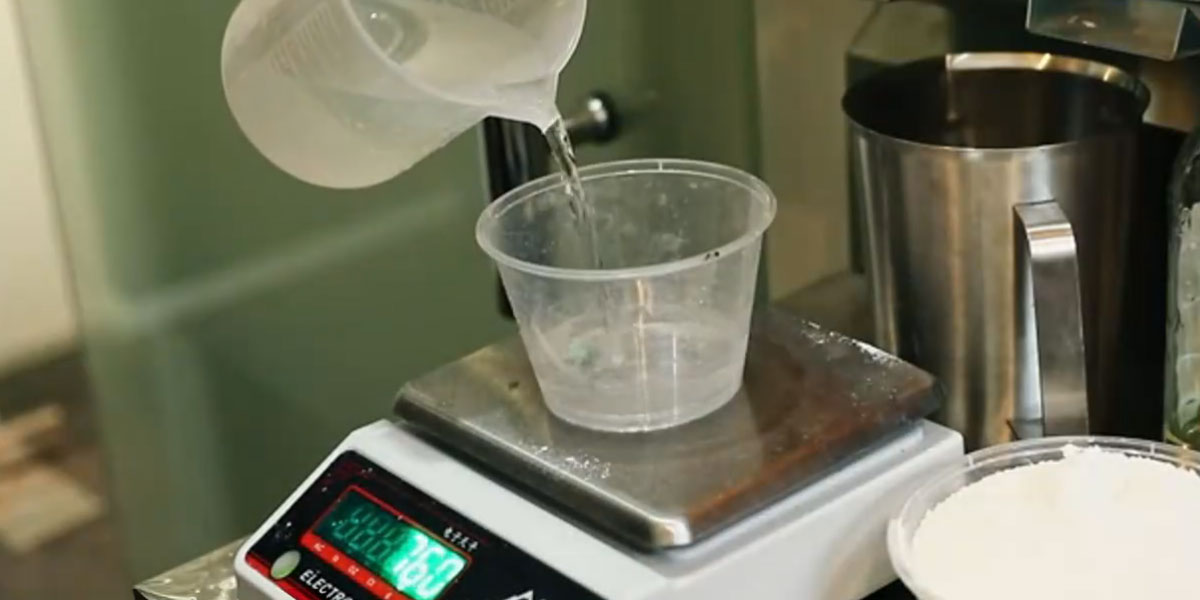
3. 树脂准备
4. 温度控制
树脂流动性对温度极其敏感。最佳打印温度为25-30℃。温度过低(<20℃)会导致树脂粘稠,流动性差,容易导致打印失败或层纹明显。北方冬季打开加热功能。
5. 安全防护
6. 开始打印
1、清洗(Cleaning):必须“双桶清洗”
珠宝模型通常支撑密集、结构复杂(如花丝、镶口),单次清洗极易残留树脂。
双桶法:准备两个清洗容器。
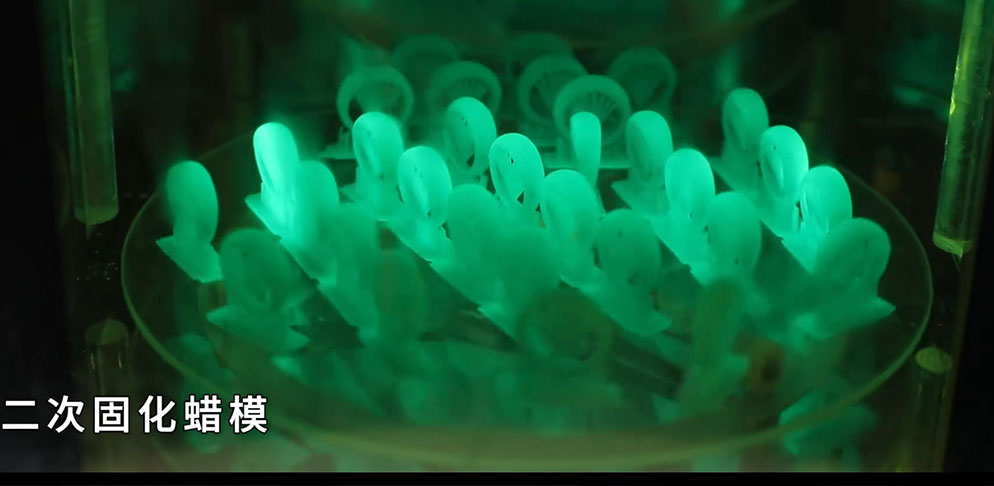
2、二次固化(Post-Curing):防止“过固化”
后固化处理
3、支撑拆除(针对珠宝)
4、质检(Quality Check)
铸造前最后一步,用手电筒或强光照射模型,检查是否有以下问题:
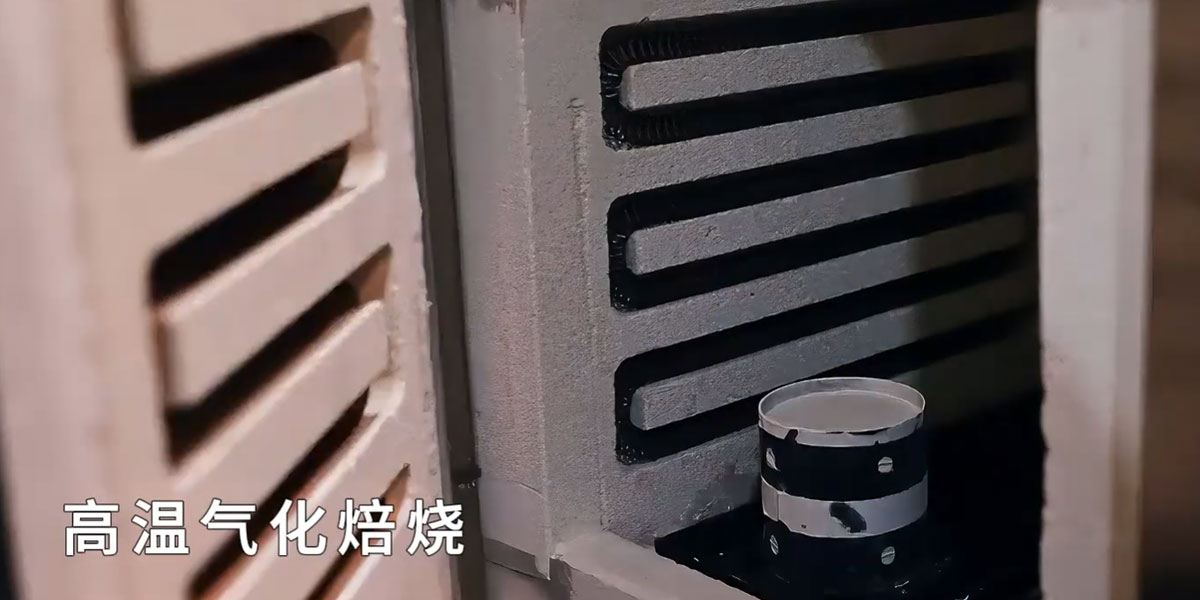
1、浇道设计(种树)
这是珠宝铸造独有的步骤:将多个小模型“焊接”在一根主浇道上。
2、开粉
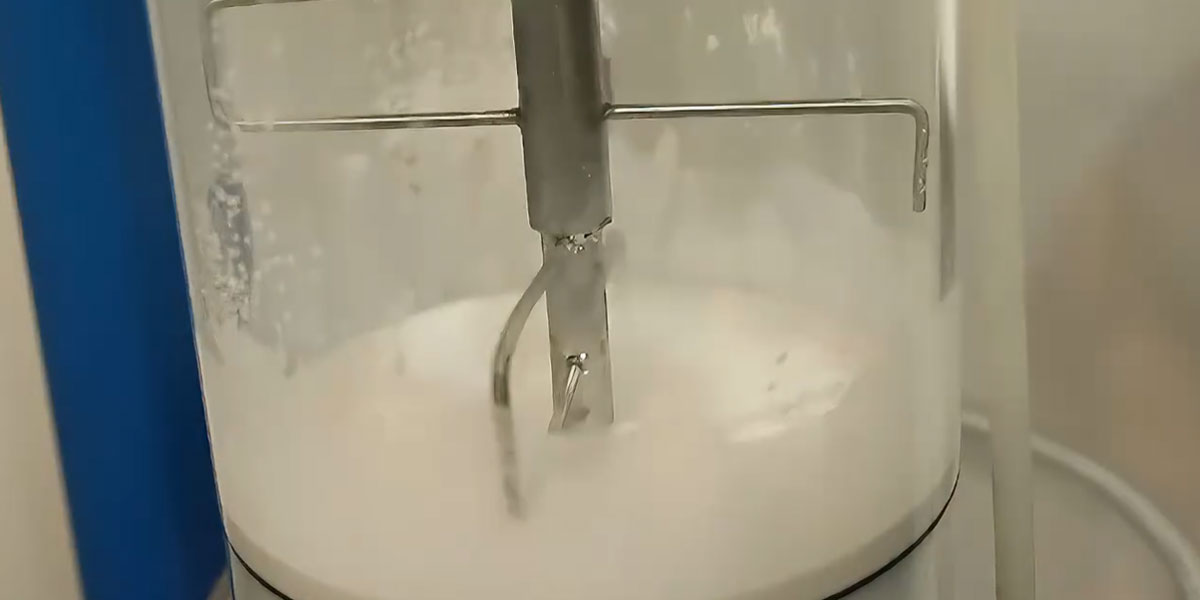
3、搅拌消泡
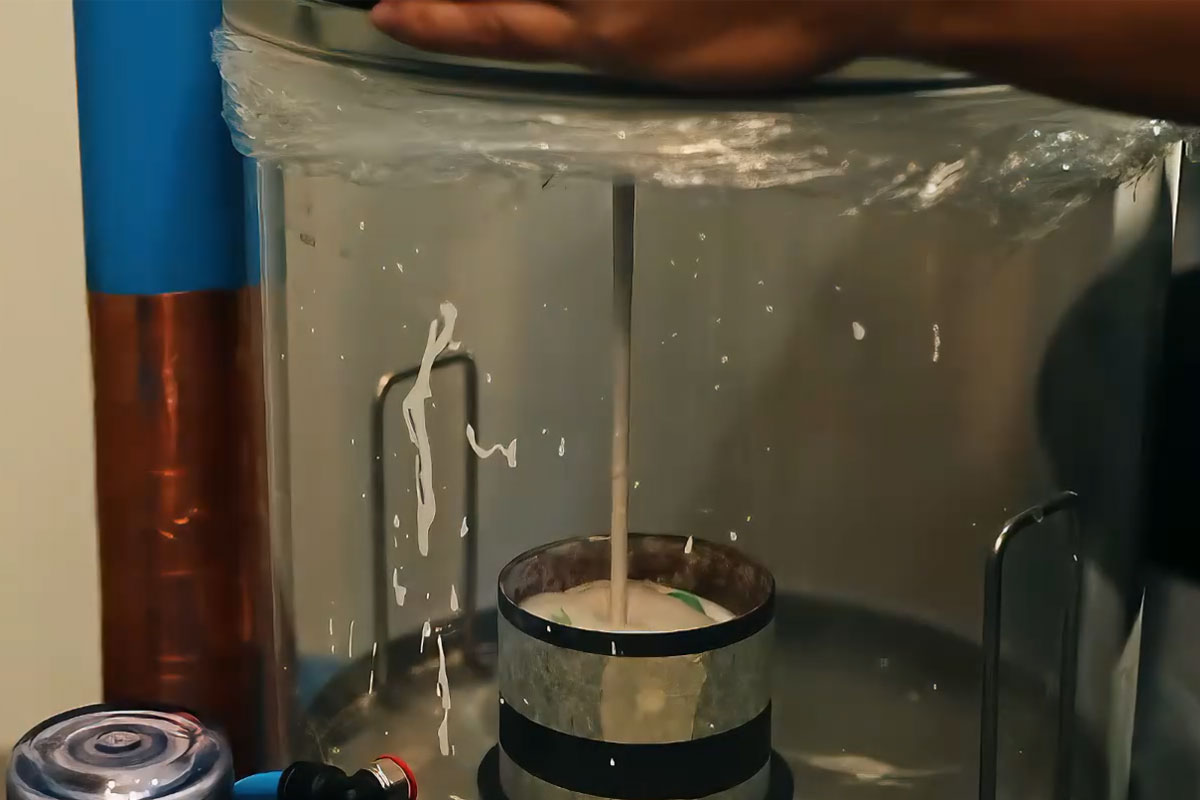
4、灌注与排气
5、脱模(失蜡)
6、熔炼
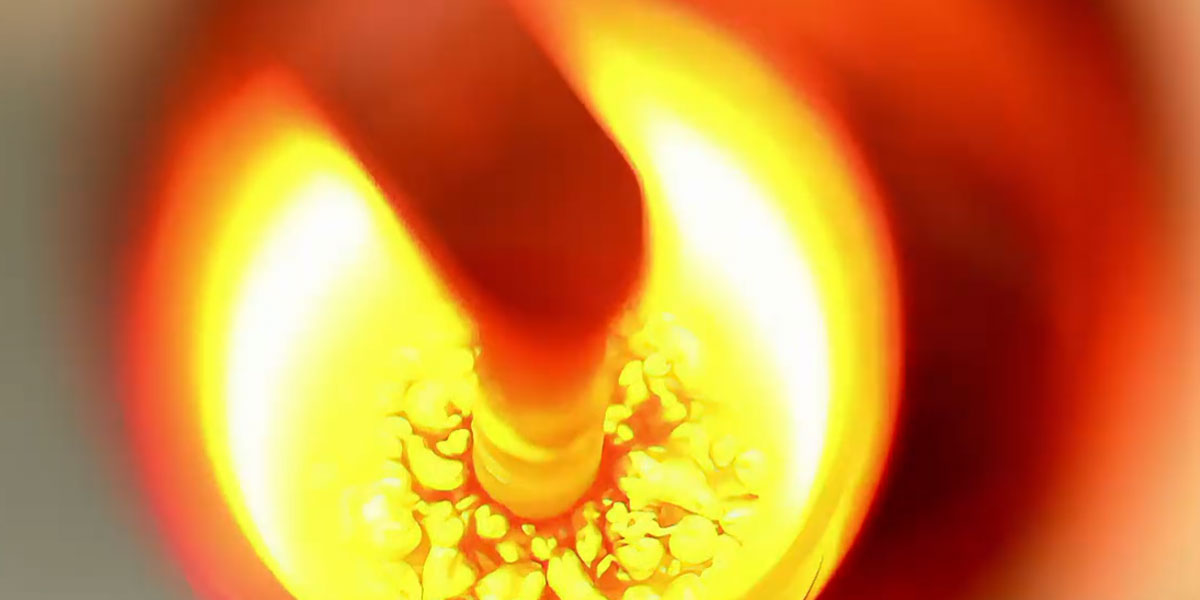
7、铸造
铸造主要有两种方式:分别为离心铸造和真空吸铸。

![]()
![]()
 GEM3
GEM3 GEM3 MAX
 GEM3 MAX
 Whale4 Ultra
 Fastcure 3
 Fastcure 2
 玲珑精铸树脂
 花丝铸造树脂
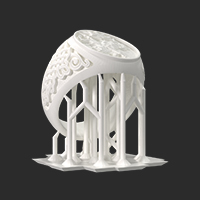 高蜡厚铸树脂
 快速牙模树脂
 高精度牙模树脂
 手术导板树脂
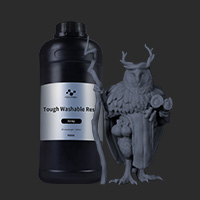 水洗高韧树脂
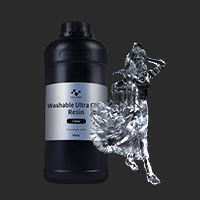 水洗高透树脂
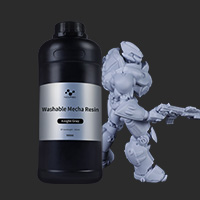 水洗机甲树脂
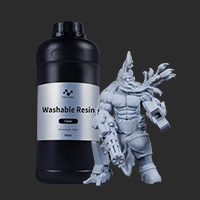 水洗树脂
水洗树脂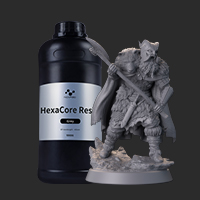 六边形树脂
六边形树脂 高透树脂
高透树脂 TGM树脂
TGM树脂 刚性树脂
刚性树脂 NovaMaker (Windows)
 NovaMaker (macOS)
 珠宝解决方案
 知识堂
知识堂 齿科解决方案
 下载中心
下载中心 社媒
社媒 联系我们
联系我们 索取样品
索取样品 关于我们
关于我们 中文
中文