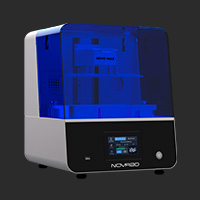
 GEM3 MAX
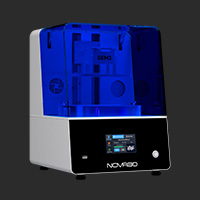 GEM3
GEM3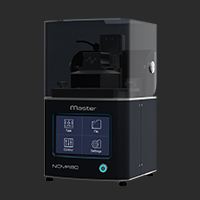 Master
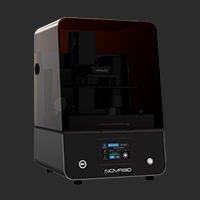 Whale4 Ultra
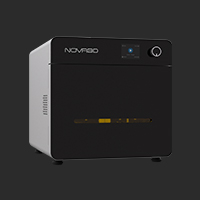 Fastcure 3
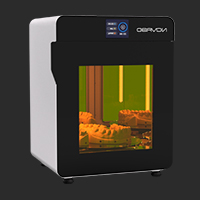 Fastcure 2
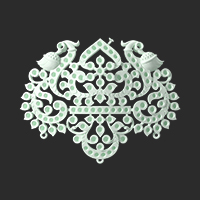 Precision Cast Resin
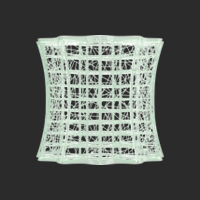 Filigree Cast Resin
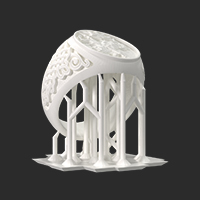 Hi-Wax Cast Resin
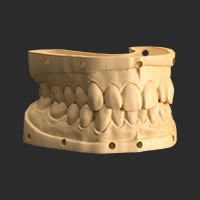 Fast Dental Model
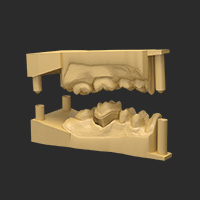 High-Precision Dental Model
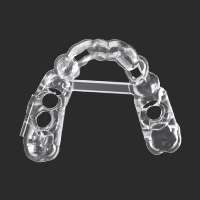 Surgical Guide Resin
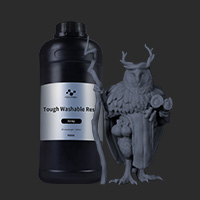 Tough Washable Resin
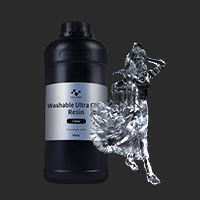 Washable Ultra Clear
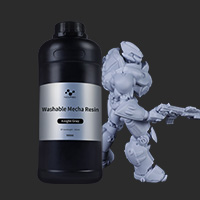 Washable Mecha Resin
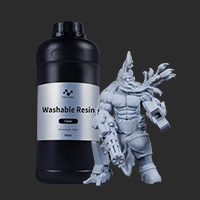 Water Washable Resin
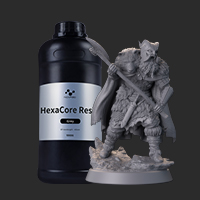 HexaCore Resin
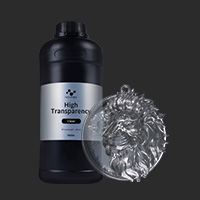 High Transparency
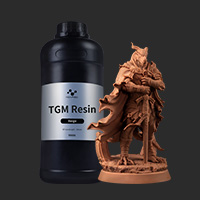 TGM Resin
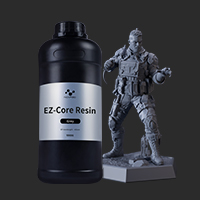 EZ-Core Resin
 NovaMaker (Windows)
 NovaMaker (macOS)
 Jewelry Application
 Dental Application
 Download Center
 Social Media
 Contact
 Request a sample
 About
About English
Reproduce finer jewelry details
Detail at ≤0.05 mm for micro-pavé, fine prongs and other intricate jewelry structures.


3D Printer

Material

Software

Application

Support
Precision Cast Resin is designed for chains, prong settings and detailed jewelry models. With printing precision ≤0.05 mm, it reproduces fine prongs around 0.2–0.3 mm. It becomes hard after curing while resisting breakage, with low shrinkage, low ash and clean burnout, supporting detailed models that require dimensional stability and reliable casting.
Precision Cast Resin is a photopolymer for chains, prong settings and detailed jewelry casting models. Printing precision ≤0.05 mm reproduces prongs around 0.2–0.3 mm. Elongation at break of 8%–15% balances hardness and slight flexibility after curing. Shrinkage <1% supports dimensional stability, while ash content ≤0.02% helps reduce burnout residue. It works with GEM3 Max, NovaStudio and appropriate cleaning, post-curing and burnout procedures for digital jewelry model production.
Detail and dimensional stability for chains, prong settings, fine holes and complex openwork.
Detail at ≤0.05 mm for micro-pavé, fine prongs and other intricate jewelry structures.

8%–15% elongation at break supports the toughness of chains, prongs and small details.

Shrinkage <1% helps reduce dimensional changes during printing and post-processing.

Ash content ≤0.02% supports burnout and subsequent jewelry casting.
| Property | Test method | Value | Unit |
|---|---|---|---|
| Curing wavelength | / | 385/405 | nm |
| Deformation resistance temperature | ASTM D638-14 | 150 | ℃ |
| Resin shrinkage | ASTM D638-14 | 2 (to be confirmed) | % |
| Notched impact strength | ASTM D256-10 | 25–35 | J/㎡ |
| Color | / | Jade green | / |
The shrinkage claim and specification table in the design materials differ. Confirm the TDS and test conditions before final release.
Claw-set rings typically contain small claw positions, inserts, and hollow structures, which require high model details, support settings, and post-processing procedures. With GEM3 Max and Precision Cast Resin, users can create resin models for design verification, insert observation, and pre-wax casting evaluation.
Recommended products:
Applicable structure:
Four-claw/six-claw insert, small claw position, hollow shell, light and curved parts

The Cuban bracelet is composed of multiple links and fastening structures. The links are closely connected and the fasteners are movable. The model is required to have high strength and toughness, while taking into account the details. With GEM3 Max and Precision Cast Resin, a complete chain model can be made for connection testing, fastening verification and pre-wax casting evaluation.
Recommended products:
Applicable structure:
Chain links, fasteners, connecting rings, movable buckles, buckles between joints, and closures
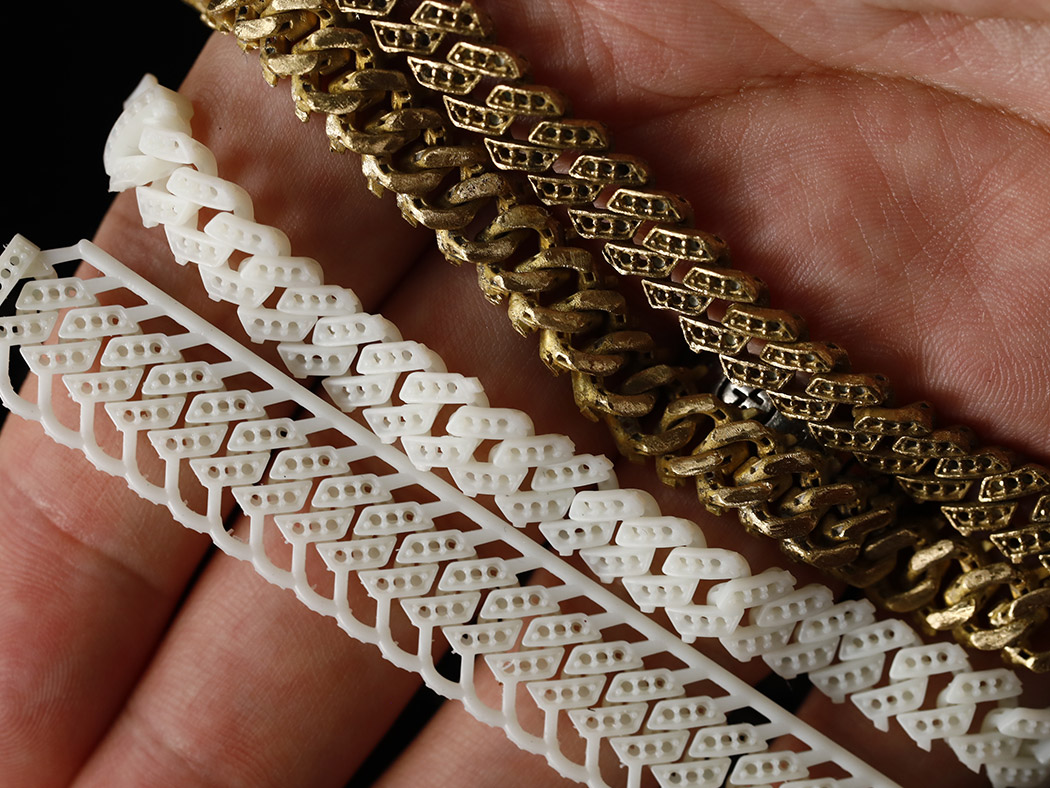
Fine settings, filigree and openwork require careful model detail and post-processing. Validate the printer, resin and casting process together.
Recommended products:
Applicable structure:
Filament, filament mesh, hollow shell, light and thin grid, crimping, carved hollow
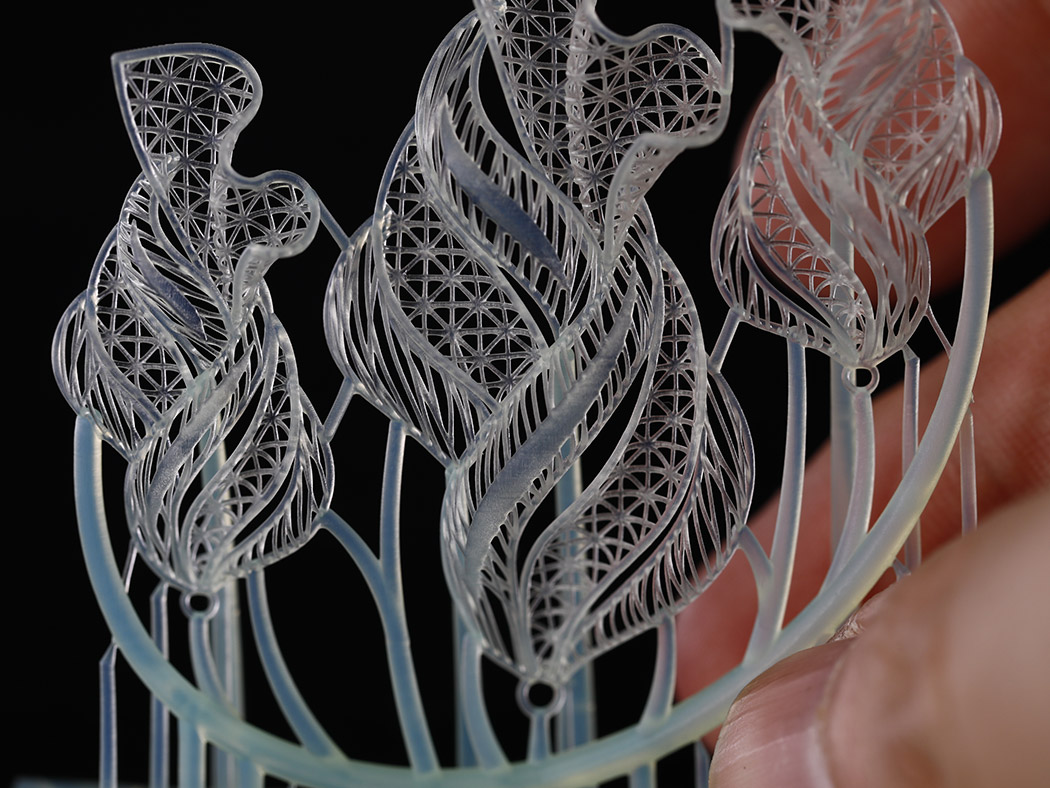
Fine settings, filigree and openwork require careful model detail and post-processing. Validate the printer, resin and casting process together.
Recommended products:
Applicable structure:
filament, hollow pendant, filament frame, pendant, chain link connection, carved shell.
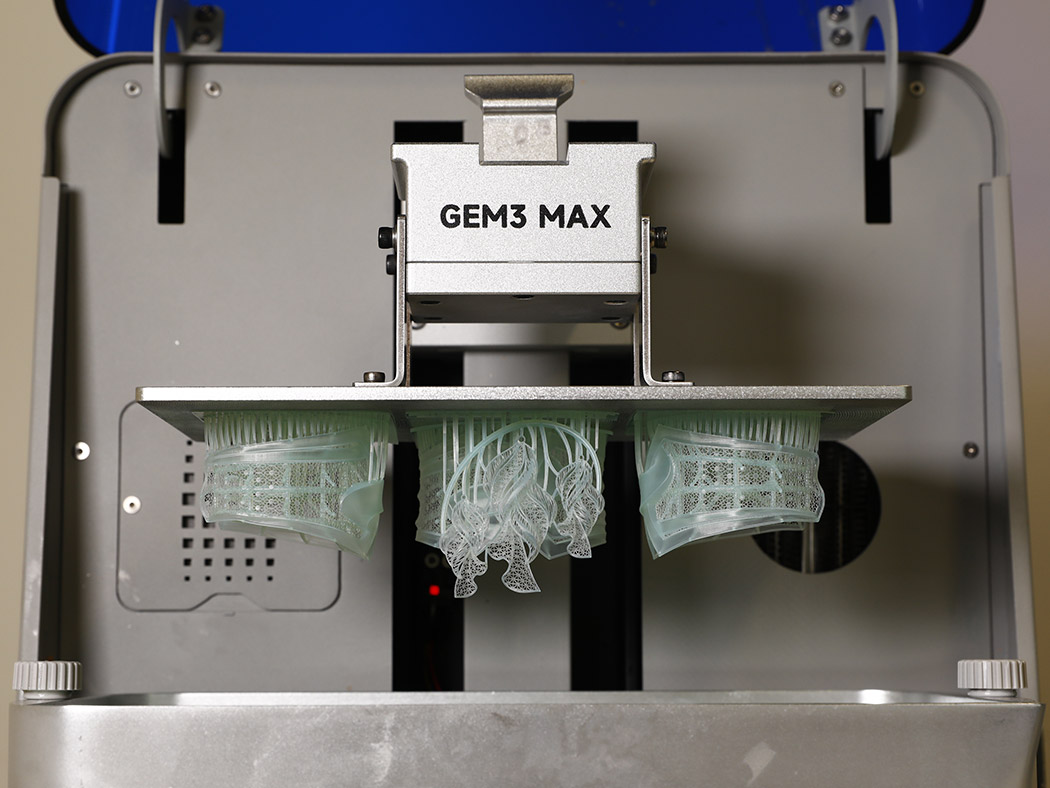
See how the material reproduces chains, prong settings, fine holes and complex openwork in detailed jewelry models.

Print time: 2h 30min · Layer height: 0.04 mm · Layer exposure: 3.2 s
Learn moreNOVA3D integrates high-precision resin 3D printing into jewelry production, from CAD design and model printing to lost-wax casting and finishing. This supports model-making efficiency, detail reproduction, consistent workflows and flexible digital production.
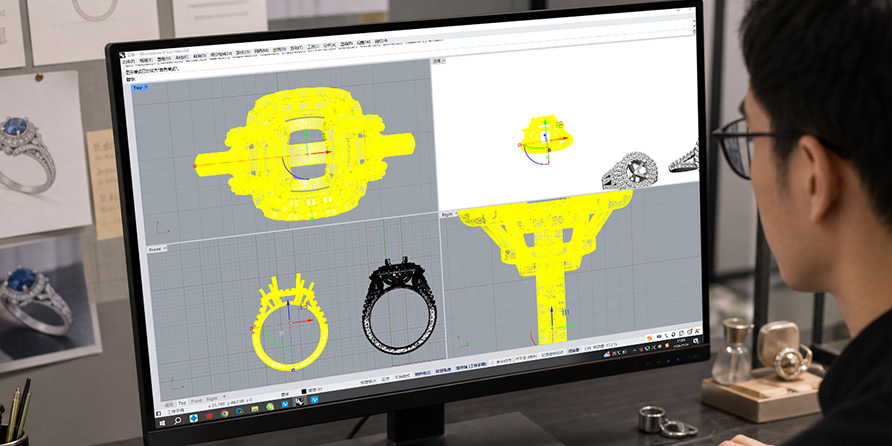
Use professional jewelry CAD software to design rings, pendants, earrings and bracelets and create the digital model.
NOVA3D support: modeling checklist and print design recommendations
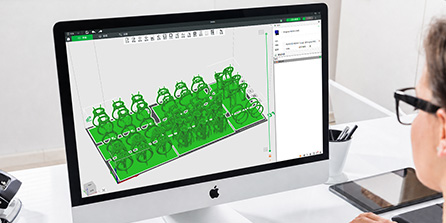
Import models into NovaStudio, adjust orientation, add supports, arrange the build plate, check printability and preview slices.
NOVA3D support: NovaStudio slicing and print workflow software
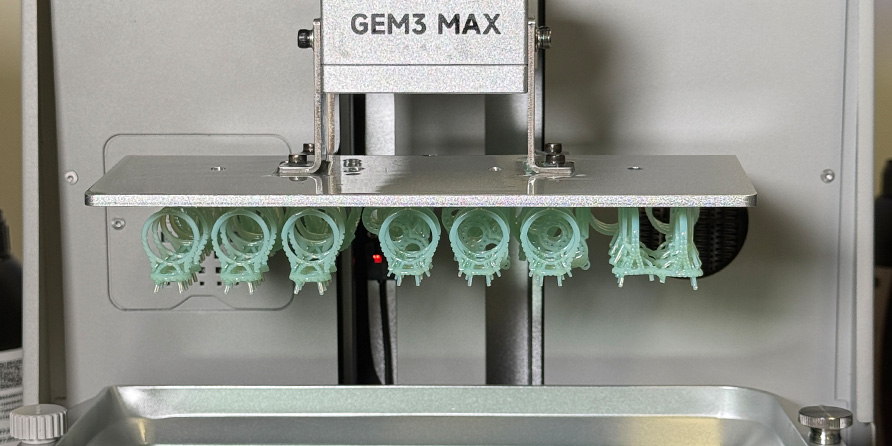
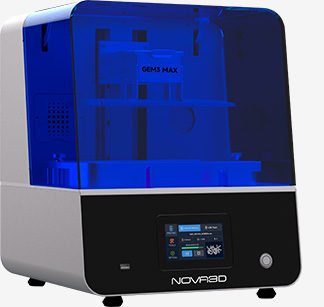
Send the sliced file to the printer and produce jewelry resin models with an LCD resin printer such as GEM3 Max.
NOVA3D support: GEM3 Max jewelry 3D printer
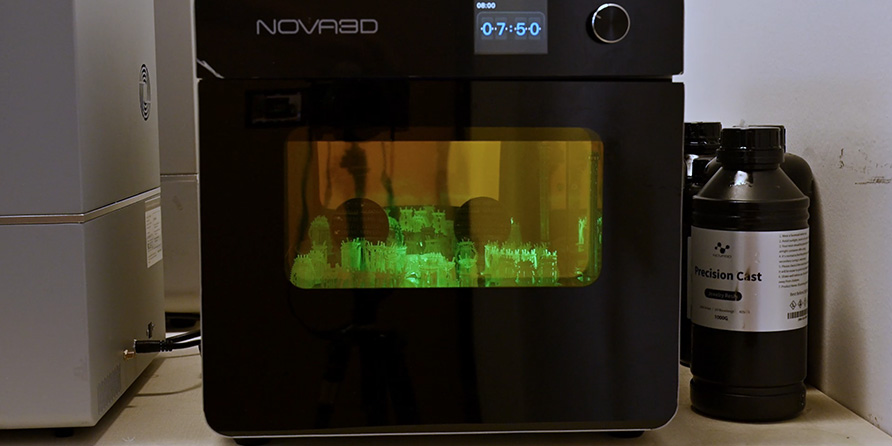
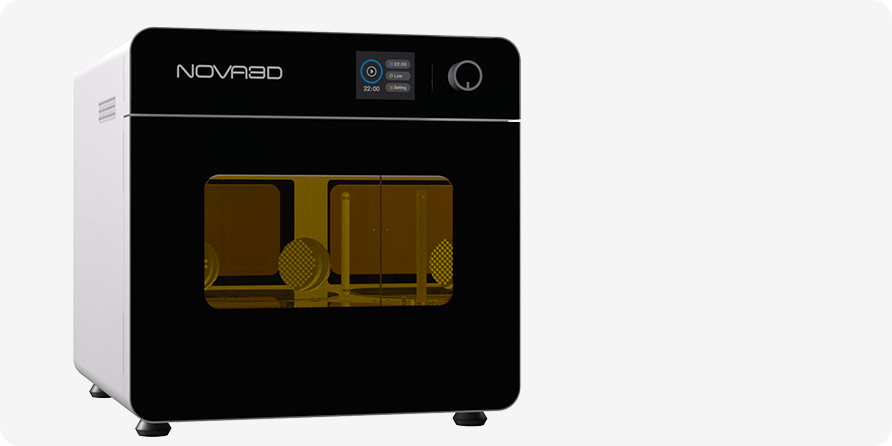
Follow the material instructions for ultrasonic cleaning, drying and post-curing so models are ready for the next process.
NOVA3D support: FastCure 3 post-curing equipment and processing guides
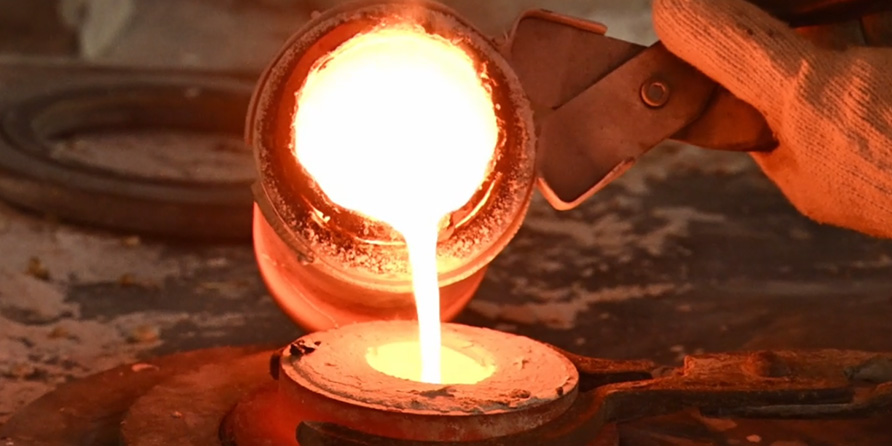
Follow the resin recommendations and your casting process for investing, burnout, dewaxing and metal casting.
NOVA3D support: jewelry resin burnout schedules and application guides
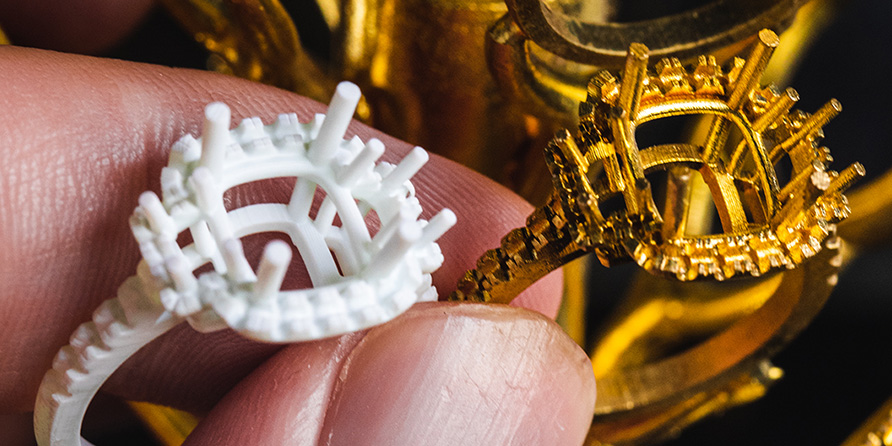
Complete sanding, polishing, stone setting and surface finishing after casting.
Application examples and finishing references
From printers and jewelry resins to NovaStudio, ultrasonic cleaning, post-curing and process guides, NOVA3D supports a complete jewelry workflow.
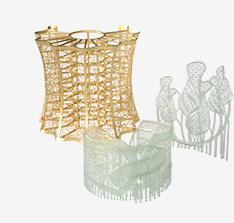
For fine casting models with filigree, openwork and ultra-thin details.
Learn more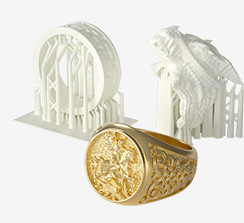
For thick-walled rings, substantial pendants and larger structures.
Learn more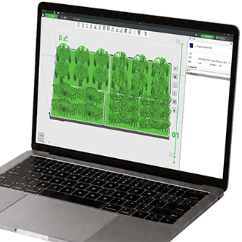

1、Release Film Check
Before printing, check the release film for scratches or residues. Any residue must be cleaned; otherwise it may puncture the film causing resin leakage.
Jewelry precision: Small scratches on the release film may not affect ordinary models, but when printing ring engravings or filigree textures, these scratches will be projected onto the model surface, causing blurred details or defects.
Recommendation: Before high-precision jewelry printing, use a flashlight from underneath the resin vat to inspect the FEP surface – it should be smooth like a mirror.
2、Resin Preparation
Preventing sedimentation: Color pastes and fillers in casting resins (especially blue/purple) tend to settle. Simple shaking may not fully re-mix them, resulting in uneven color or inconsistent burnout performance.
Recommendation: After pouring resin into the vat, gently stir the resin surface with a scraper to ensure complete suspension of settled material. If recycled resin contains particles or clumps, filter through a mesh before pouring into the vat.
3、Temperature Control
Resin fluidity is highly sensitive to temperature. Optimal printing temperature is 25-30°C. Temperatures below 20°C increase viscosity and reduce fluidity, leading to print failures or visible layer lines. Use the heating function in winter.
4、Safety Protection
Goggles: UV protection – photopolymer printers (LCD/DLP/SLA) use 405nm UV light to cure resin. Prolonged direct viewing of the screen or reflections from the resin surface can cause irreversible eye damage.
Gloves: Must wear nitrile gloves to prevent skin contact, which may cause allergic reactions.
Ventilation: Operate in a well-ventilated area to avoid inhaling volatile resin fumes.
Sanding Dust: In addition to printing precautions, jewelry wax models generate fine dust when removing supports and sanding. This dust contains partially uncured resin and is harmful if inhaled.
Recommendation: Operate in a ventilated area and wear a dust mask (e.g., N95 level).
5、Adding Resin
Pour prepared resin into the vat. Turn on the constant-temperature heating system to warm the resin. When the temperature reaches about 30°C, start printing.
1、Cleaning
Jewelry models typically have dense supports and complex structures (e.g., filigree, settings). A single cleaning often leaves residual resin.
Two-tank method: Prepare two cleaning containers.
First wash (rough wash): Dissolves most resin from the model surface. This alcohol will quickly become dirty.
Second wash (fine wash): Thoroughly removes remaining residue. This alcohol must remain relatively clean.
Process: After removing the model from the printer, first soak and agitate in the first wash for 1-2 minutes to dissolve bulk resin. Then quickly transfer to the second wash, soak and agitate for another 2-3 minutes to ensure resin in crevices is completely removed. (Do not exceed 5 minutes total cleaning time). Tool assistance: For dead corners like ring inner walls and setting cavities, use a soft brush (e.g., old toothbrush) to gently scrub, but be careful not to break fine structures.
2、Post-Curing
Place prints in a UV curing chamber with intensity ≥ 60 mW/cm².
Curing time: Thin-walled parts ~5 minutes; thick-walled or large parts 15-20 minutes.
Process optimization (optional): Before UV curing, bake prints at 80°C for 10 minutes. This helps reduce resin thermal expansion, improving dimensional stability and casting success rate.
3、Support Removal
Timing: Recommended to remove supports after cleaning but before curing. At this stage, the resin has a slight toughness and is less likely to break.
Tool: Must use flush cutters. Cut supports at the base. Avoid tearing off by hand, which may leave scars on the model surface (requiring later finishing).
4、Quality Inspection
The final step before casting – use a flashlight or strong light to inspect the model for the following issues:
Residual liquid: Unwashed resin on inner walls (appears transparent).
Breakage: Broken filigree or setting prongs.
Deformation: Ring shank distorted during cleaning or curing.
Storage conditions directly determine print success rate and material life. For high-wax resins and thin-wall/prong-specific resins commonly used in jewelry casting, storage requirements are stricter than for standard resins. The key factors are light protection, constant temperature, and moisture prevention.
Core Storage Parameters (General Gold Standard)
Temperature (20–28°C): store within this recommended range.
Humidity (<60% RH): humidity above 80% RH may cause moisture absorption, sticky prints and reduced strength.
Light (complete protection): UV from sunlight or stray curing light can cause premature curing.
Container (original opaque bottle): tighten the cap after opening to limit oxidation and solvent evaporation.
A: Chains, prong-setting models and other highly detailed jewelry models.
A: High toughness and low shrinkage are the confirmed key properties. The material becomes hard after curing, resists breakage and offers clean burnout with low ash.
A: Small chain links and prongs need both toughness and dimensional stability. The resin's high toughness and low shrinkage address these requirements.
A: This page recommends GEM3 Max. Refer to the official parameter sheet for layer height, exposure and compatibility with other printers.
A: Cleaning fluid, cleaning time, curing equipment, duration and temperature must follow the official processing instructions. Parameter details on this page await confirmation.
A: Current technical information specifies ash content ≤0.02%, intended to reduce burnout residue. Refer to the official TDS or test report for methods and conditions.
A: Store at 20–28°C and below 60% RH, protected from light. Use the original opaque bottle and tighten the cap immediately after use.
A: Submit a chain, prong-setting, ring or pendant model. We can arrange test printing based on its structure and help confirm printing and casting parameters.
Share your model structure, detail dimensions, printer and casting process. NOVA3D can help assess material suitability and recommend a workflow.