-

3D打印机

-

材料
-

软件中心
-

行业应用
-

服务支持
3D打印机![]()
材料![]()
软件中心![]()
行业应用![]()
服务支持![]()
产品描述
![]() 产品特点
产品特点
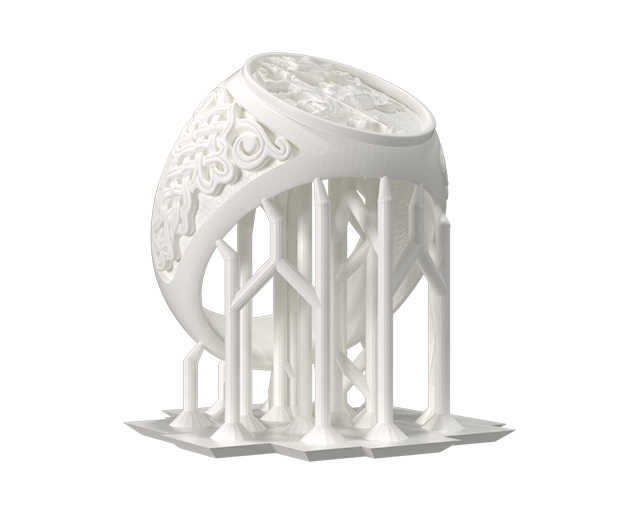
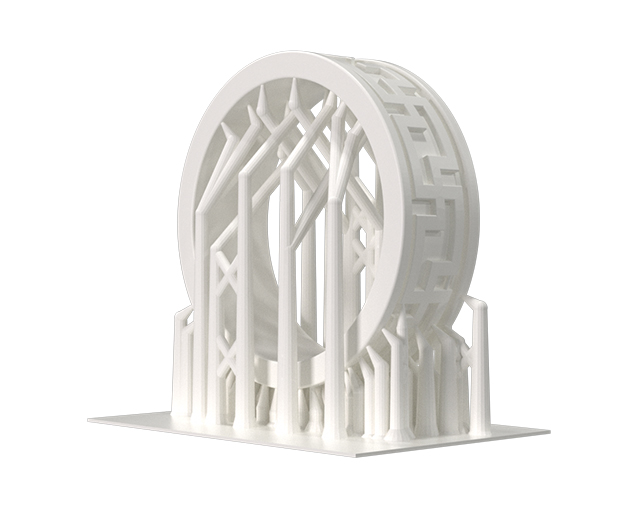
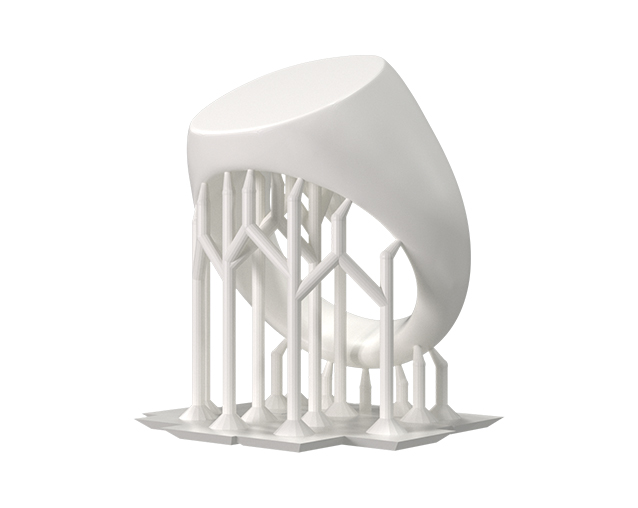
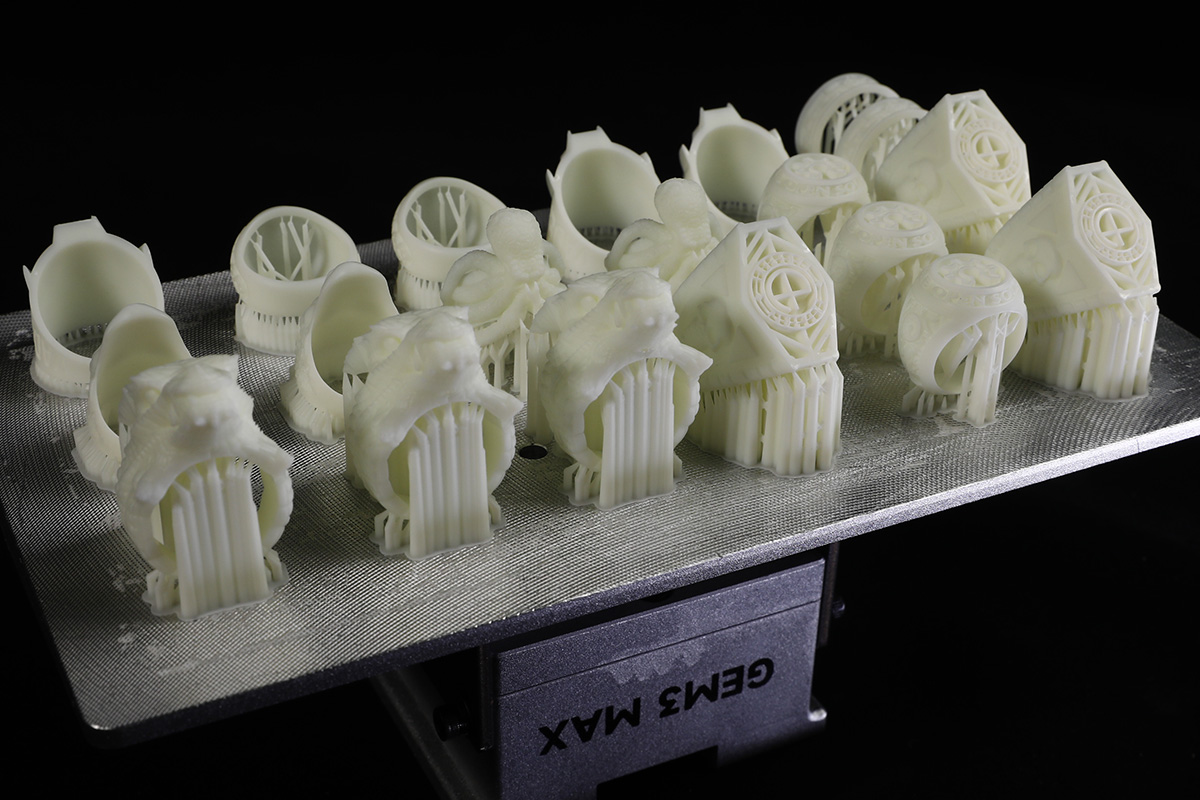
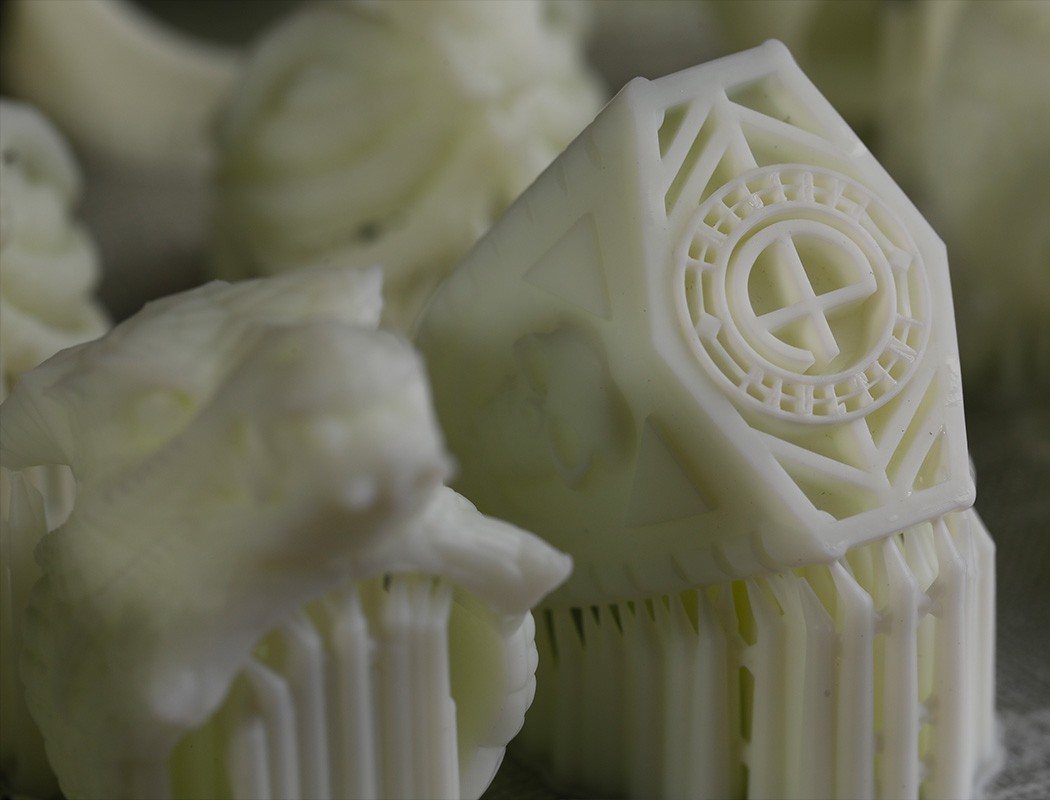
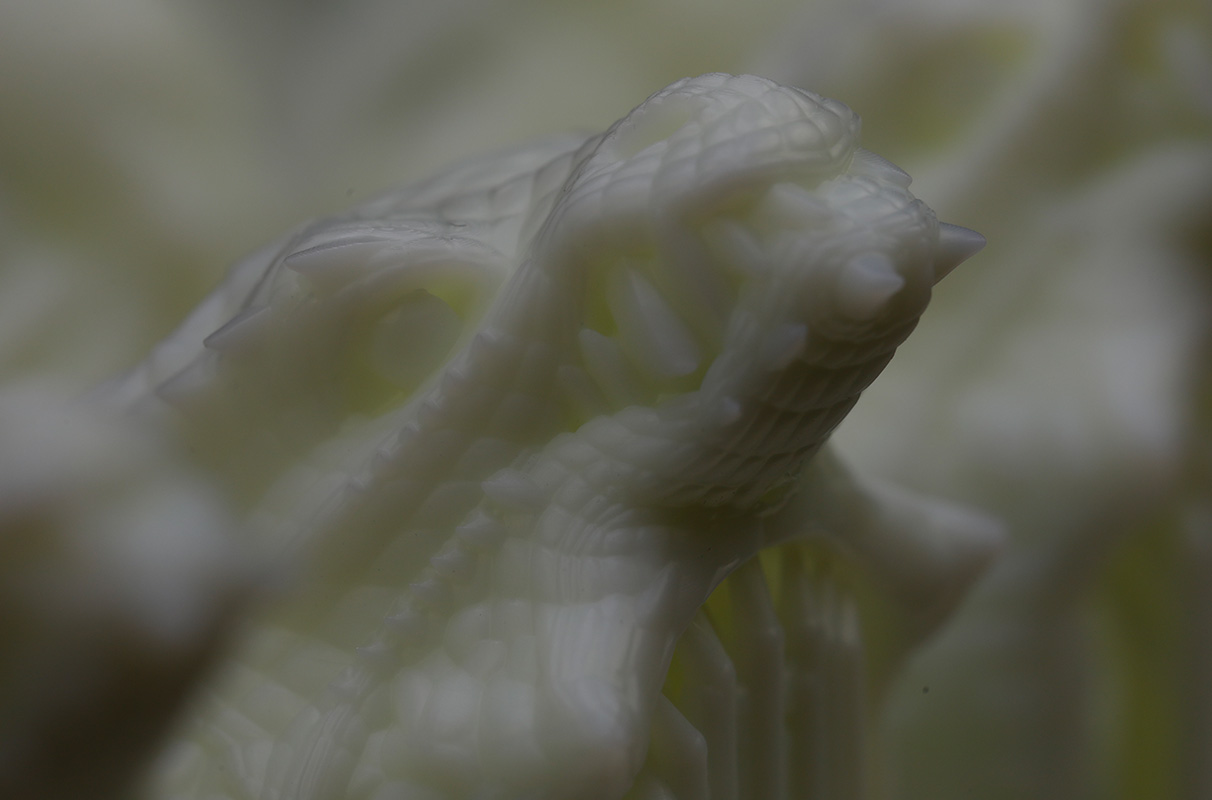
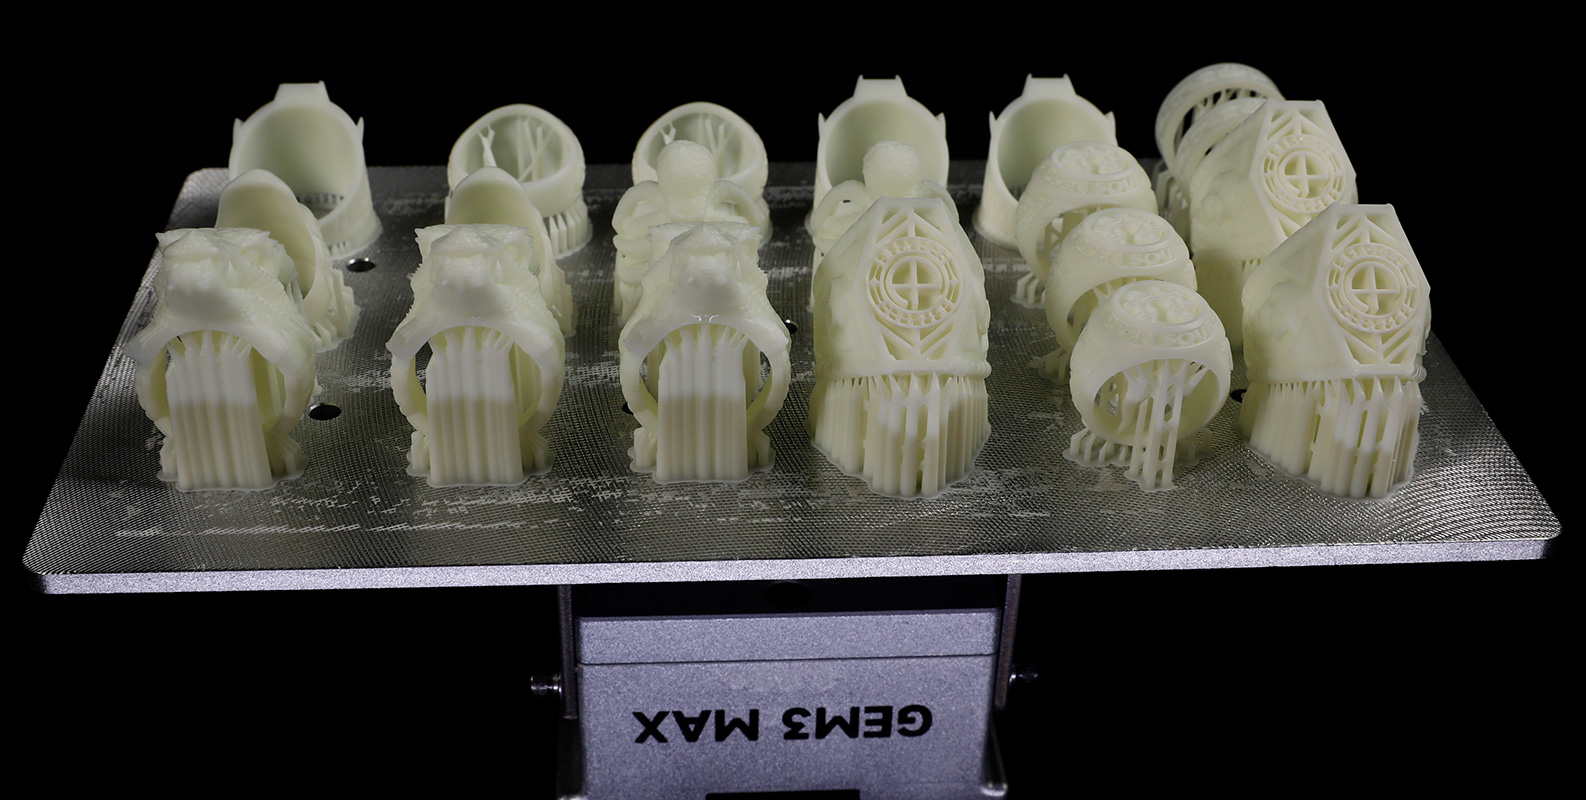
NOVA3D「高蜡厚铸」专为厚壁铸件研发,在追求3D打印速度的时代,我们选择回归铸造的初心——极致的烧失性与光洁的铸件表面。高蜡铸造树脂,将蜡含量提升至核心,不是简单的材料混合,而是从分子层面重构,让数字模型拥有传统蜡模般的纯净燃烧体验。
应用领域:男士厚戒指、宽版手镯、吊牌等是大克重珠宝、厚壁摆件、精密工业原型的“隐形守护者”。
![]() 产品性能
产品性能
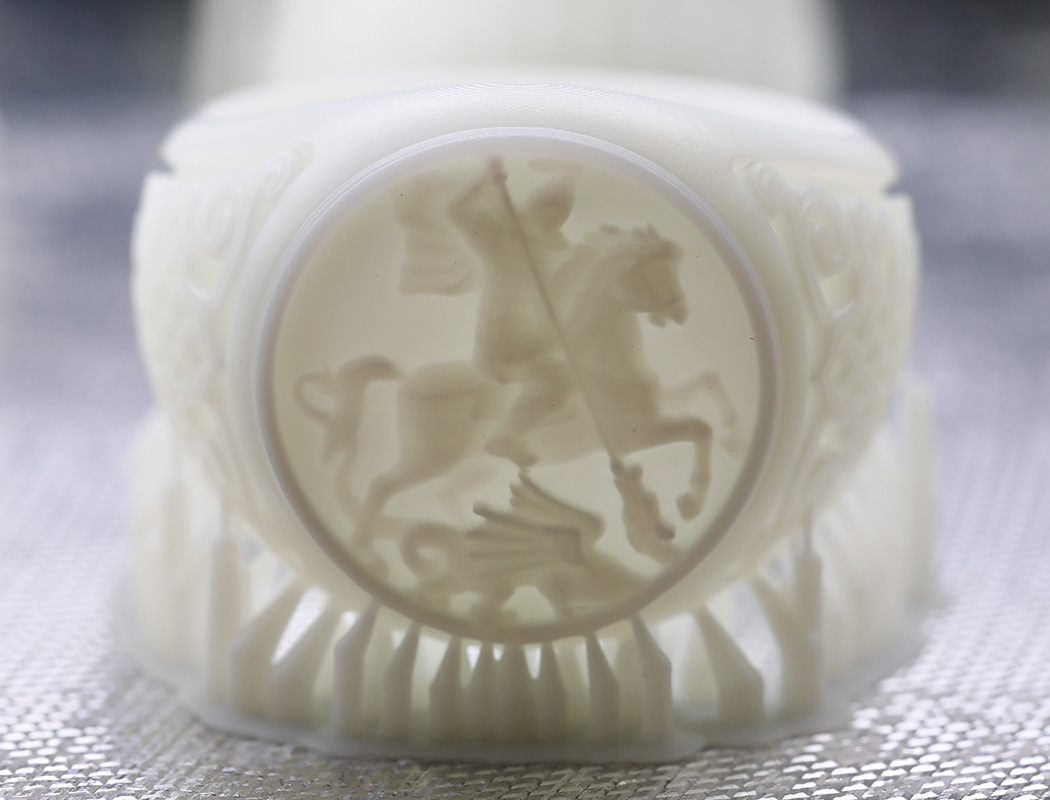
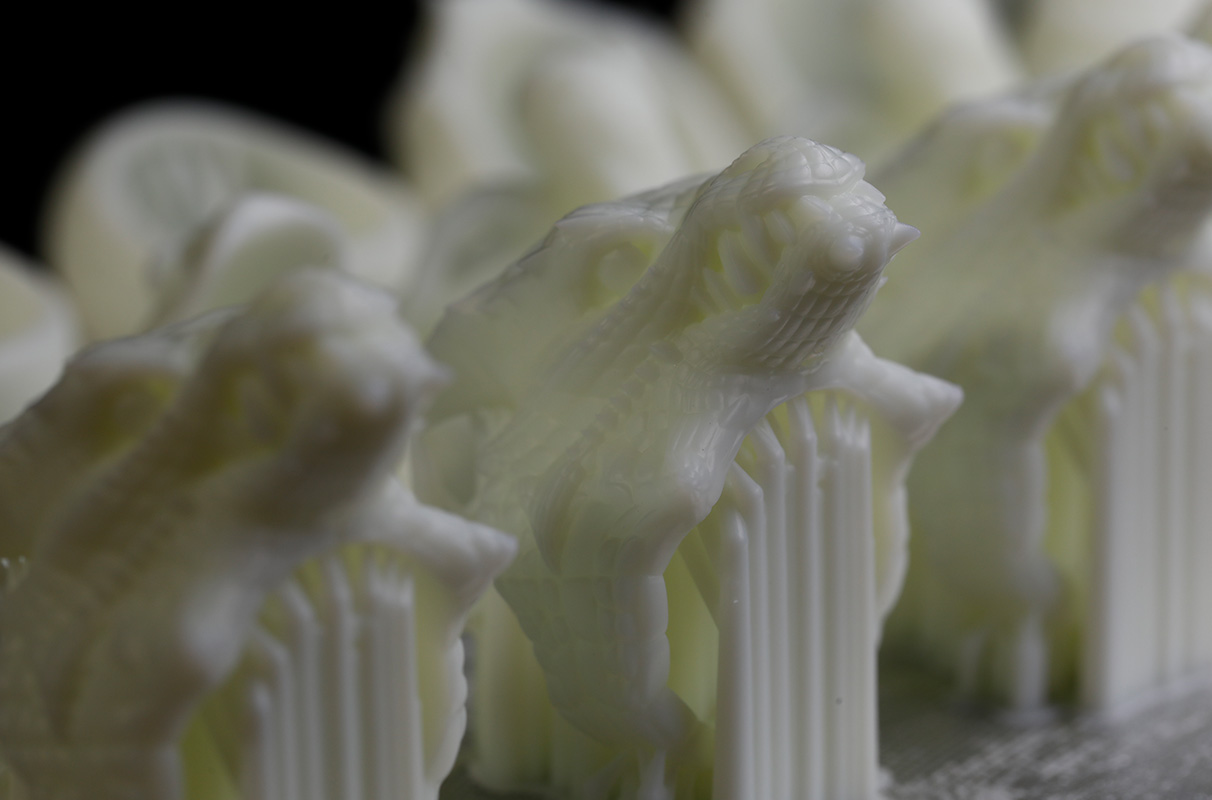
灰分含量≤ 0.03%极低灰分意味着几乎无残留,能完美保留微镶钉、蕾丝纹理等极致细节,避免铸件表面“发麻”。
收缩率线性收缩 ≤ 1.5%男士戒指对圈口号(如 20#)尺寸要求严苛,低收缩率避免铸后圈口变小,导致无法佩戴。
断裂伸长率5% – 12%赋予材料微弹性。拆支撑时细丝不易脆断,打印出的花丝结构更具韧性,方便后处理。
![]() 存储条件
存储条件
树脂的储存条件直接决定了打印的成功率和材料寿命。针对珠宝铸造常用的高蜡树脂、薄壁/爪镶专用树脂,其储存逻辑比普通树脂更严苛,核心在于避光、恒温、防潮。
核心储存参数(通用黄金标准)
温度(20℃–28℃):最佳储藏温度在20-28摄氏度之间。
湿度(< 60% RH):>80% RH 时树脂易吸潮,导致打印发粘、强度下降。
光照(绝对避光):紫外线(含阳光、固化机余光)会引发树脂预固化。
容器(原装不透光瓶):开封后务必拧紧瓶盖,防止树脂氧化和溶剂挥发。
1、离型膜检查
打印前检查离型膜是否有划痕或残留物。如有残留,必须清理干净,否则会刺破离型膜导致漏液。
珠宝精度:离型膜上的微小划痕在打印普通模型时可能影响不大,但在打印戒指刻字、花丝纹理时,这些划痕会投射到模型表面,导致细节模糊或出现瑕疵。
建议:打印高精度珠宝前,建议用手电筒从料槽底部照射,仔细检查FEP膜表面是否光滑如镜。
2、树脂准备
防沉淀:铸造树脂(特别是蓝色/紫色)中的色浆和填料容易沉淀。如果只是简单摇晃,可能无法完全混合均匀,导致打印出的蜡模颜色不均或燃烧性能不稳定。
建议:倒入料槽后,用刮板轻轻搅拌树脂液面,确保底部沉淀物完全悬浮。如果树脂回收前没有过滤中有杂质或结块,建议使用滤网过滤后再倒入料槽。
3、温度控制
树脂流动性对温度极其敏感。最佳打印温度为25-30℃。温度过低(<20℃)会导致树脂粘稠,流动性差,容易导致打印失败或层纹明显。北方冬季打开加热功能。
4、安全防护
护目镜:防紫外线(UV):光固化打印机(LCD/DLP/SLA)使用405nm波长的紫外光固化树脂。长时间直视屏幕或树脂液面的反光,会对眼睛造成不可逆的损伤。
手套:必须佩戴丁腈手套,防止树脂接触皮肤引起过敏。
通风:在通风良好的环境下操作,避免吸入树脂挥发气体。
打磨粉尘:除了打印时的防护,珠宝蜡模在支撑拆除和打磨修模时会产生大量粉末。这些粉末含有未完全固化的树脂成分,吸入对人体有害。
建议:在通风处操作,并佩戴防粉尘口罩(如N95级别)
5、添加材料
添加树脂:将已经处理好的树脂加入到料槽里,开启恒温加热系统将树脂加热,当温度控制在30℃左右可以开始打印。
1、清洗
珠宝模型通常支撑密集、结构复杂(如花丝、镶口),单次清洗极易残留树脂。
双桶法:准备两个清洗容器。
一洗(粗洗):用于溶解模型表面大部分的树脂。这桶酒精会很快变脏。
二洗(精洗):用于彻底去除残留。这桶酒精必须保持相对干净。
操作流程:模型从打印机取出后,先在一洗中浸泡并晃动1-2分钟,溶解大块树脂;然后迅速转移到二洗中,再次浸泡并晃动2-3分钟,确保缝隙中的树脂被完全洗出。(清洗时间也不能太久最好不超过5分钟)工具辅助:对于戒指内壁、镶口凹槽等死角,建议使用软毛刷(如旧牙刷)轻轻刷洗,但注意力度,避免刷断精细结构。
2、二次固化
将打印件置于UV光强大于60mW/cm²的紫外光固化箱中进行固化。
固化时间:薄壁件约5分钟;厚壁或大体积件建议15-20分钟。
工艺优化(可选):在UV固化前,先将打印件置于80℃环境烘烤10分钟,此操作有助于减少树脂热膨胀,提升后续铸造的尺寸稳定性与成功率。
3、支撑拆除
时机:建议在清洗后、固化前拆除支撑。此时树脂略有韧性,不易断裂。
工具:必须使用水口钳,从支撑的根部剪断,避免用手直接撕扯,否则容易在模型表面留下疤痕(需要后期执模修复)。
4、质检
铸造前最后一步,用手电筒或强光照射模型,检查是否有以下问题:
残留液:内壁是否有未洗净的树脂(呈透明状)。
断裂:花丝或镶口爪是否有断裂。
变形:戒圈是否因清洗或固化而变形。
![]()
![]()
 GEM3
GEM3 GEM3 MAX
 GEM3 MAX
 Whale4 Ultra
 Fastcure 3
 Fastcure 2
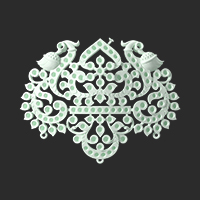 玲珑精铸树脂
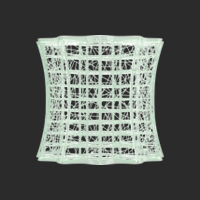 花丝铸造树脂
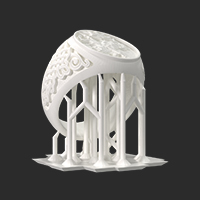 高蜡厚铸树脂
 快速牙模树脂
 高精度牙模树脂
 手术导板树脂
 水洗高韧树脂
 水洗高透树脂
 水洗机甲树脂
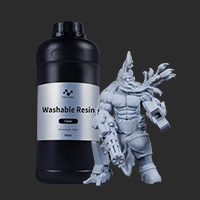 水洗树脂
水洗树脂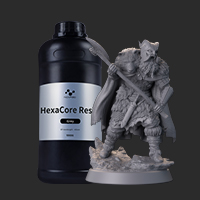 六边形树脂
六边形树脂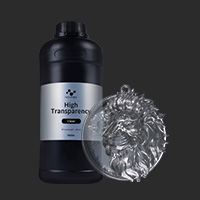 高透树脂
高透树脂 TGM树脂
TGM树脂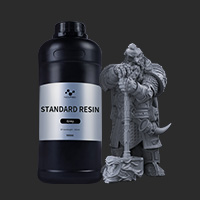 刚性树脂
刚性树脂 NovaMaker (Windows)
 NovaMaker (macOS)
 珠宝解决方案
 知识堂
知识堂 齿科解决方案
 下载中心
下载中心 社媒
社媒 联系我们
联系我们 索取样品
索取样品 关于我们
关于我们 中文
中文 

